|
|
Post by herm99 on Aug 6, 2013 10:10:17 GMT -5
What are you going to use for the netting?
|
|
|
|
Post by asevie on Aug 6, 2013 15:04:15 GMT -5
|
|
|
|
Post by weinerdog on Aug 6, 2013 20:14:44 GMT -5
Nice! Really dumb question..I assume the two pieces have to be welded? Did you bend them simply by wrapping them around those nails?
|
|
|
|
Post by asevie on Aug 6, 2013 21:26:41 GMT -5
I experimented with a few different sized bolts, larger gives a larger radius to the bend. But yeah, put the steel rod in between the two bolts and bend it, the hard part is getting two to be the same size, after the first 2 or 3 I got to where I could bend them pretty consistently.
|
|
|
|
Post by doanuts on Aug 23, 2013 11:38:48 GMT -5
Hey bjl, another question for you that I do not think was answered. Where did you get the metal "zig-zag" part for attaching the netting to the net. I have not seen anything like that, or did you custom make it?
Thanks!
|
|
|
|
Post by rpatrone on Aug 28, 2013 11:21:42 GMT -5
Nice work so far asevie. How did it turn out? Can you post pics? Also, did you solder or weld pieces together? What about the crimping the skinny wire for the netting?
|
|
|
|
Post by asevie on Aug 28, 2013 22:59:08 GMT -5
I'll post some pictures tomorrow. Just put the last bit of bondo on the pair and I've got to sand them down before priming and painting. I had a shop weld them for me, I couldn't get the solder to hold. I was using a plumber's torch and the parts were glowing, the solder just plopped on thru and dropped off the other side. I used flux, I'm not sure why it doesn't work. I'm still working on the skinny wire, I was going to try and make it myself using needlenose pliars and a thin metal strip, I'll post pics of that too.
|
|
|
|
Post by asevie on Aug 29, 2013 21:52:07 GMT -5
Here are my goals sanded and ready for primer. I've got to figure out how to attach the nets either via the zig-zag wire welded or soldered to the back side of the front bar or some other method. I've seen a few custom nets but I think the zig-zag bar is the best method. Attachments:
|
|
|
|
Post by wadew17 on Feb 14, 2015 21:35:48 GMT -5
Probably one of the coolest things I have seen recreated! Very well done!
|
|
|
|
Post by chexxaddict on Apr 8, 2015 23:26:53 GMT -5
Just wanted to show my modified goals. Same 5/32" steel rod bent, welded and powder coated. Then I cut, stretched, and glued a "delicate washing machine bag via Bed Bath and Beyond" to the original goal. I had to trim the original plastic goal to make the goal the same dimensions as the original. The magnetic puck can stick to the inside posts of the goal so I need to add something inside....silicone?. I will redo these in NONMAGNETIC STAINLESS STEEL! but you can use copper or aluminum rod also... 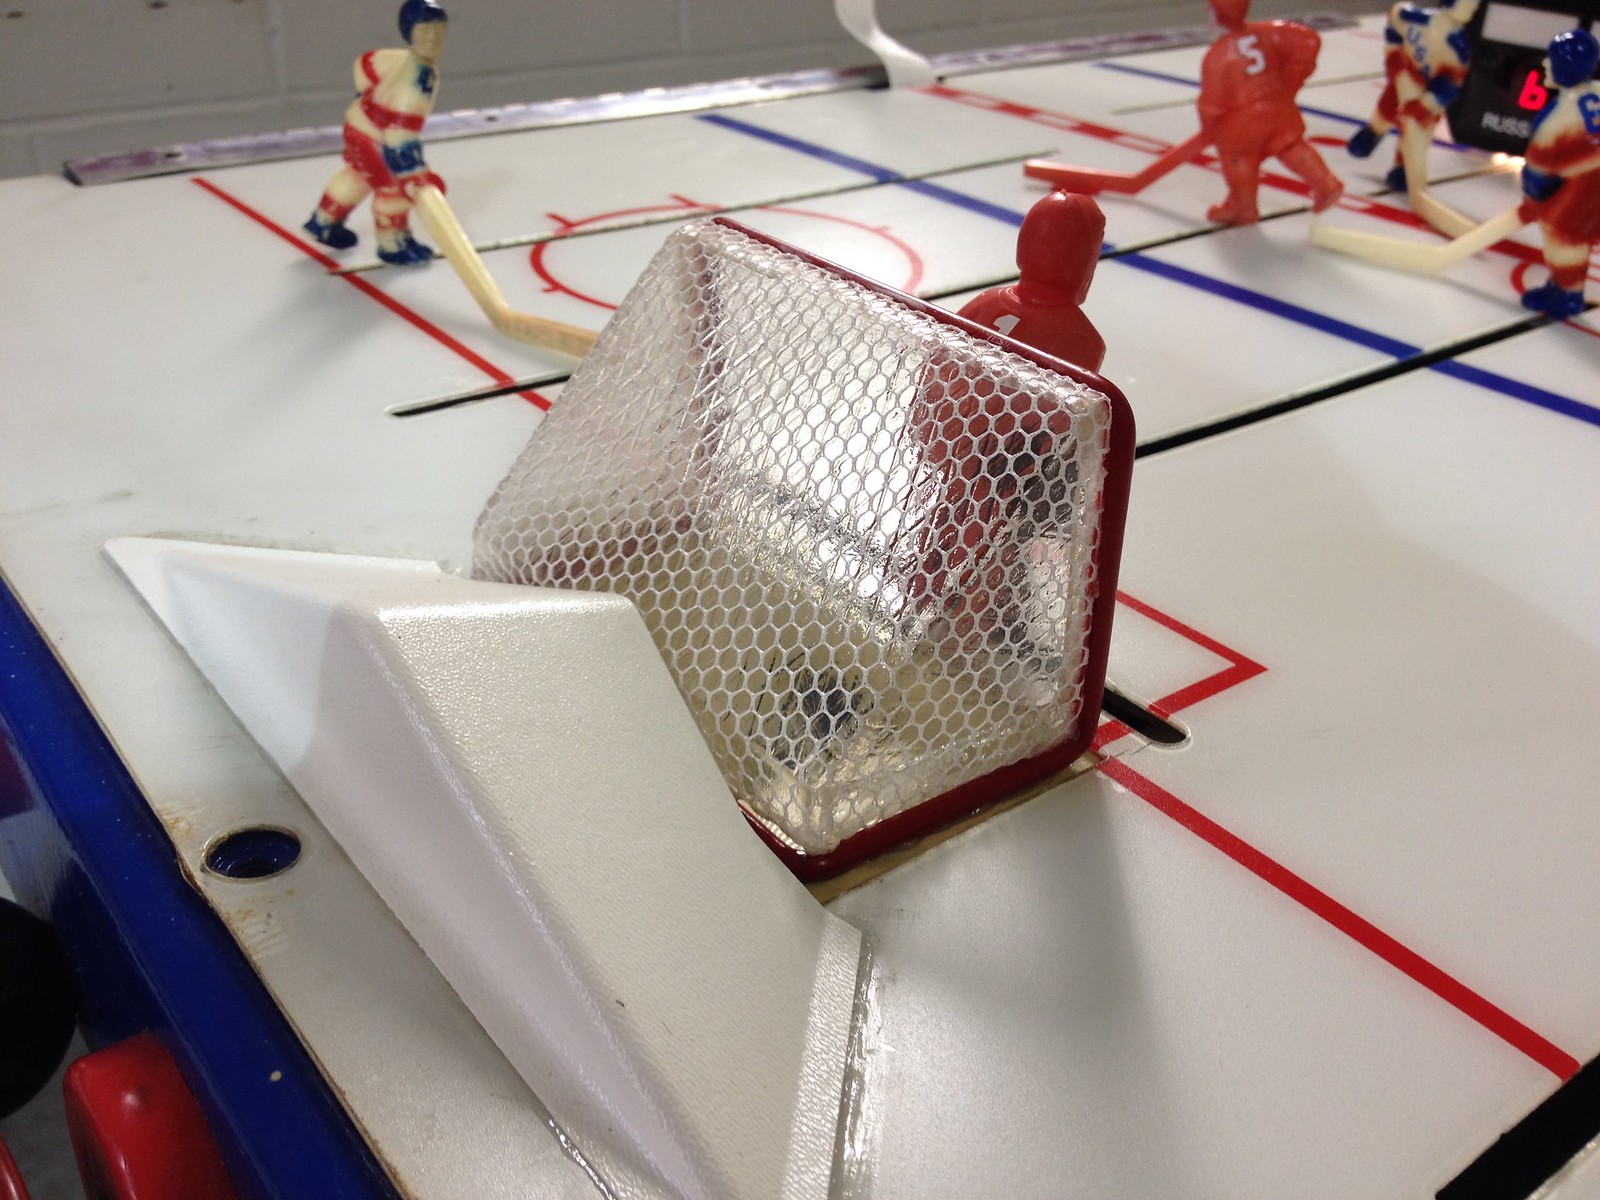 IMG_4034 IMG_4034 by vballrod21, on Flickr 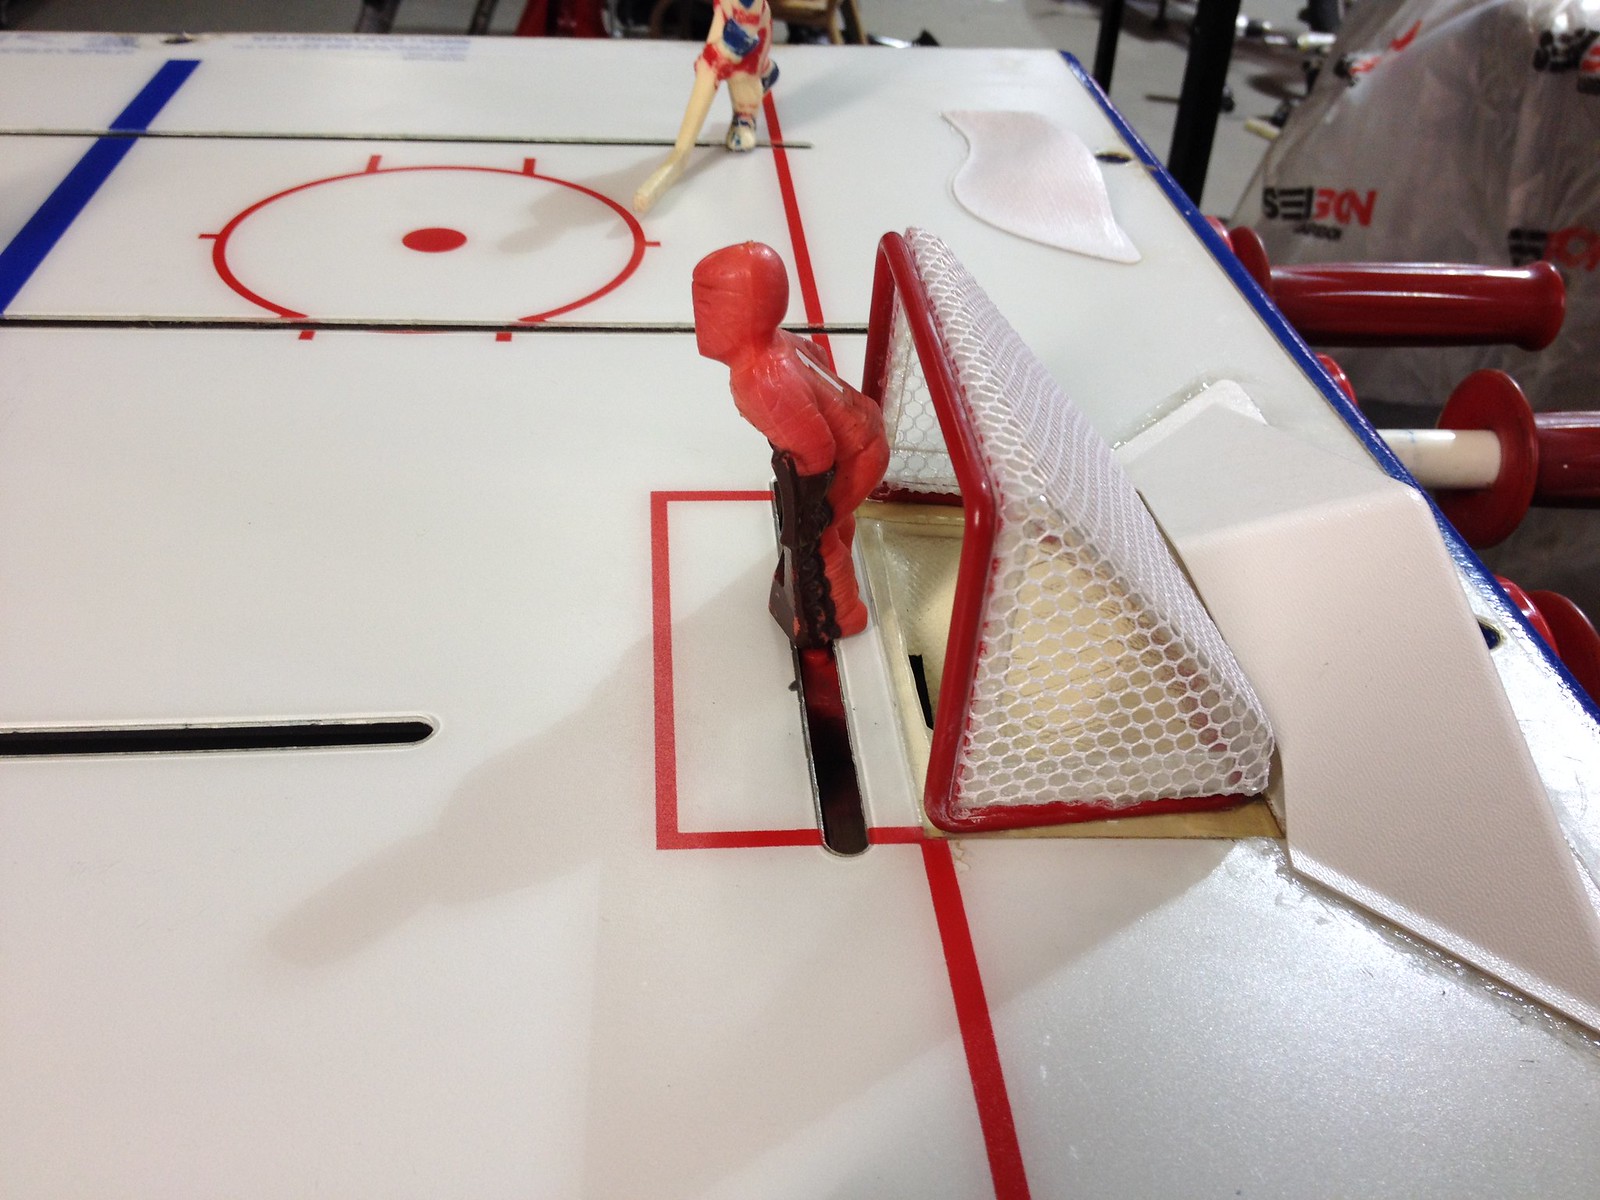 IMG_4036 IMG_4036 by vballrod21, on Flickr 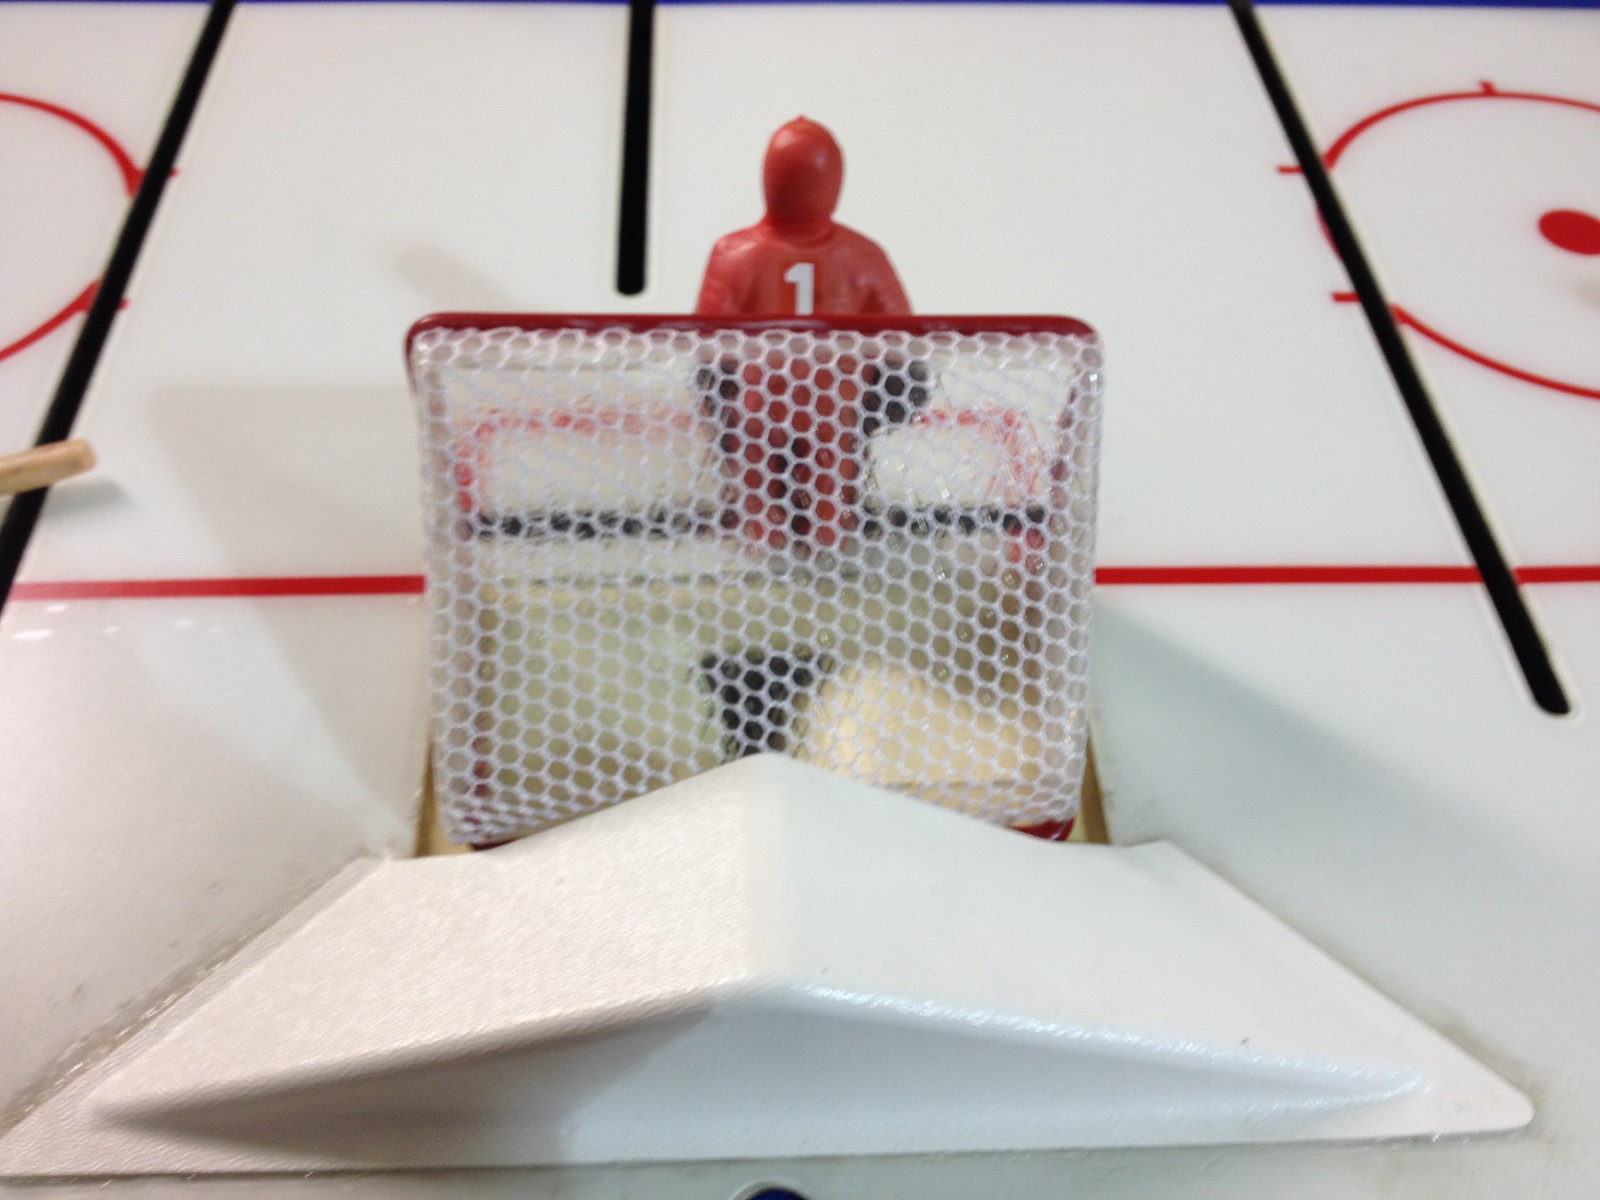 IMG_4035 IMG_4035 by vballrod21, on Flickr 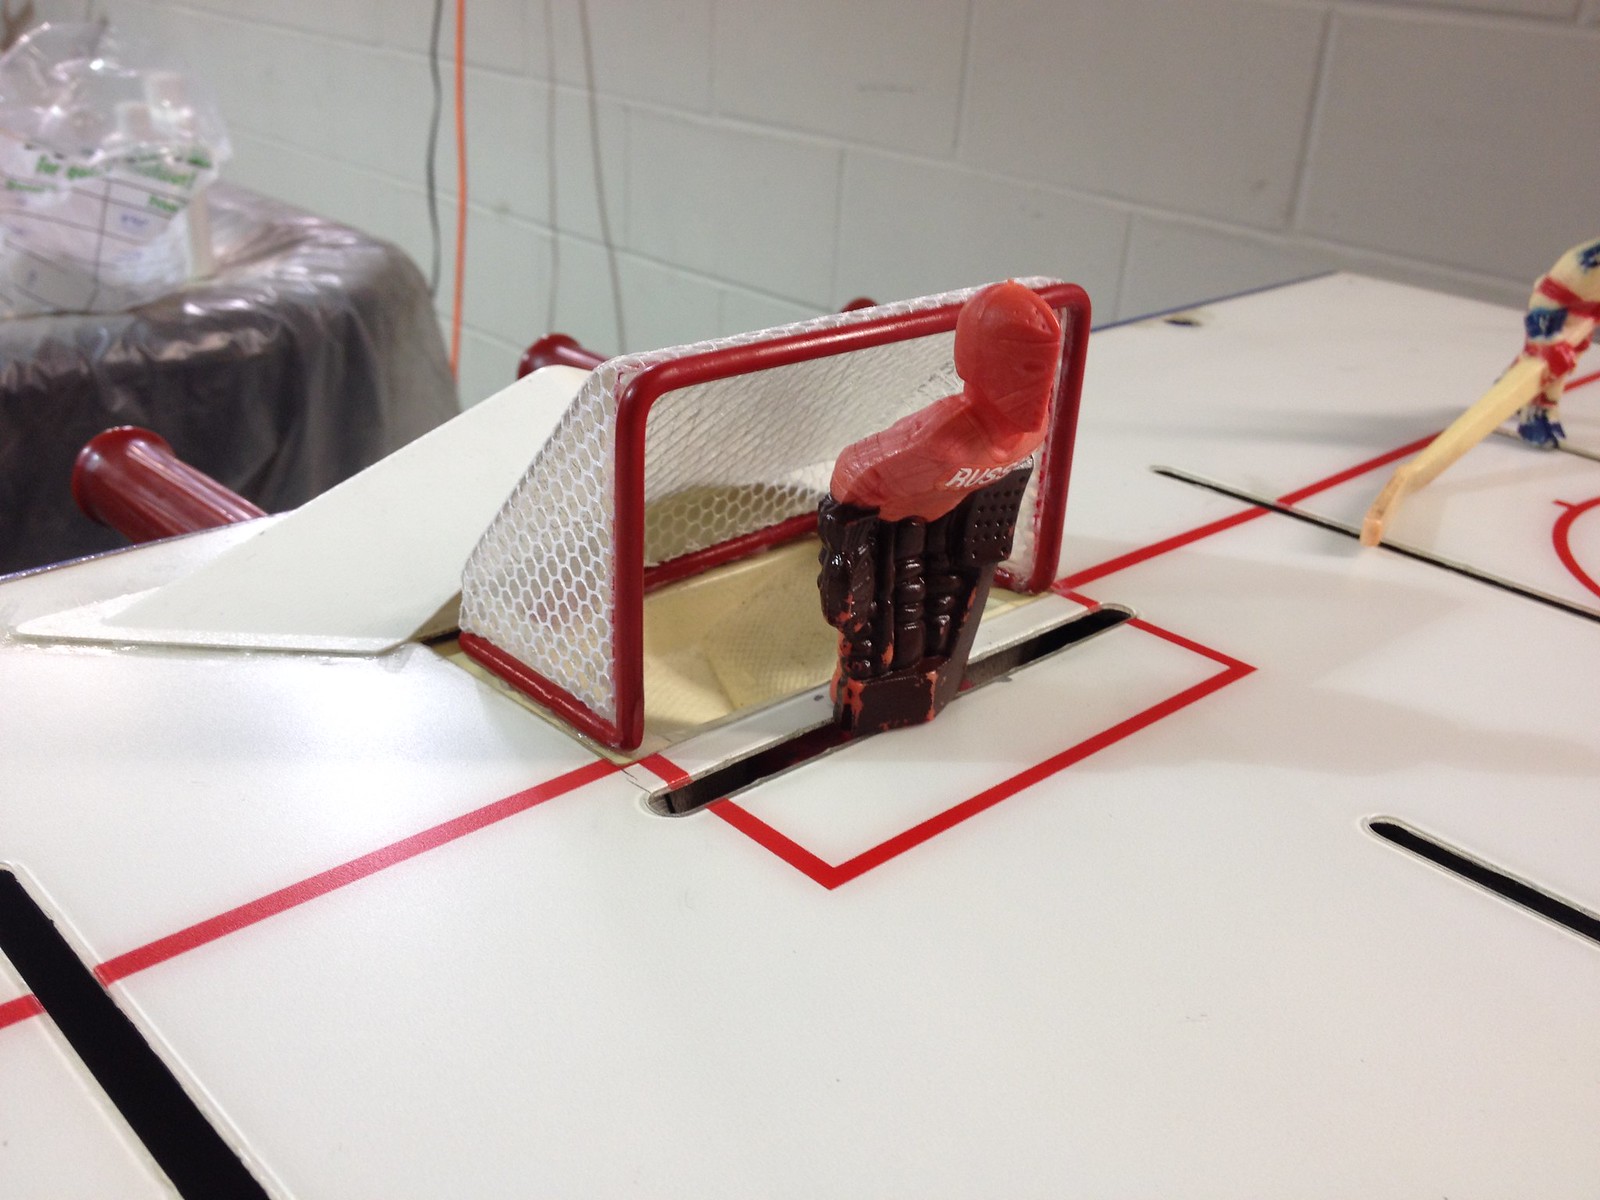 IMG_4033 IMG_4033 by vballrod21, on Flickr |
|
jp2
New Member

Posts: 9 
|
Post by jp2 on Apr 19, 2015 21:58:22 GMT -5
@vballrod21 question for you not related to the goal nets (which are awesome- great work)- i also have an original Chexx playing surface and the bumpers (corner and behind the net) are ruined due to age. HOW (and what did you use) to remove the glue from the originals?
|
|
|
|
Post by chexxaddict on Apr 20, 2015 11:07:44 GMT -5
My bumpers were glued with hot glue and super glue before which melted the surface underneath. I used a sharp razor blade and siliconed the new bumpers in place. Hot glue will work, but it leaves strings. Mine isn't perfect but good enough for now!
|
|


